Formz
Andrew Smith
What is Formz?
Formz is a UI form builder that allows website managers and developers alike to easily create web forms.
Who should use Formz?
Formz was built to allow the website manager to create web forms to collect information and store it in the database and receive via email. This Add-on should be valuable to Developer and Website manager alike, as it gives a easy way for Developers to create a FormIt form and store/email the data to the website manager in a easy to manage way.
Getting Started
Requirements
Installing
You can install Strong through various means, below I will list those and provide you with the prefered method.
Install via Package Management
Inside of MODX go to the System menu and click Package Management, from within this interface click on Download Extras
You should be taken to the Package Browser interface, you should see a search field on the left, type formz and press enter.
Install via Git
git clone https://github.com/adido/formz.git
Install via Download
Currently you can download the stable branch or the develop branch, here are the link to both branches.
Quickstart Guide
Here I will walk you through creating your first Formz form.
Go to the Components menu in MODX and select
Formz Builder.
Figure 2.1 Component Menu
Click on
Create a new Form, once the interface is ready we can start by entering the required fields. TheNamefield is required and so is theSuccess Message, all the other fields can remain default.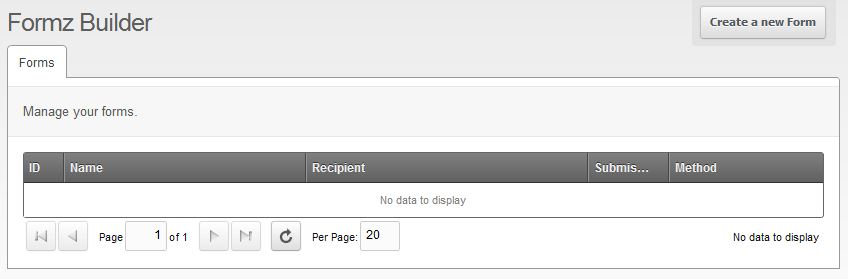
Figure 2.2 Create a new Form
Enter "Contact" in the
Namefield and "Thank you for contacting us" in theSuccess Messagefield.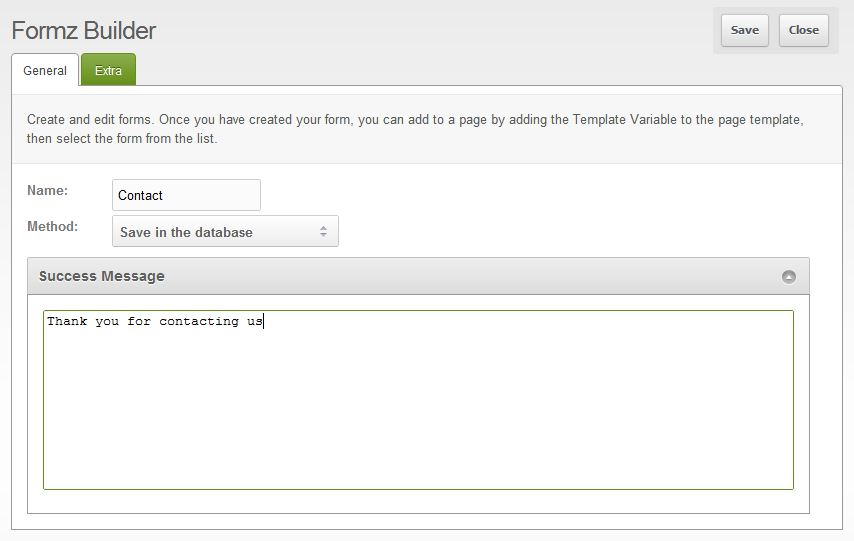
Figure 2.3 Required Fields
Click
Saveand the browser should reload and you will now be in edit mode.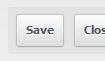
Figure 2.4 Save Action
Click on
Fieldstab and this is where you enter the fields you want available to your form.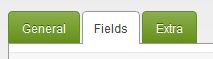
Figure 2.5 Fields Tab
Above the Grid you will see
Add Fieldaction at the top right.
Figure 2.6 Add Field Action
The
Labelfield is the only required field on this form, we will enter "Name" for our Label.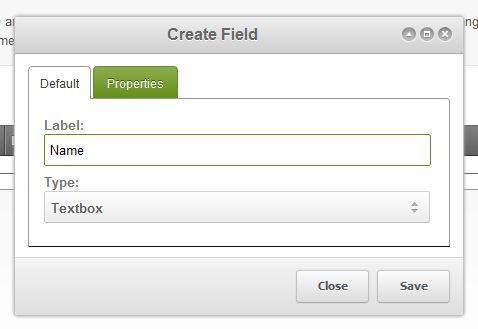
Figure 2.7 Field Window
Now click on the
Propertiestab and check therequiredcheckbox. This will make sure that the user has to enter a name in order to submit the web form.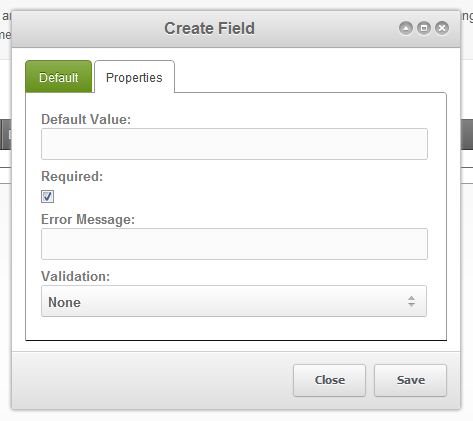
Figure 2.8 Properties Tab
Repeat step 7 but this time lets enter in the
Labelfield "Email" and on thePropertiestab lets check therequiredcheckbox and select from theValidationfield "Email".
Figure 2.9 Validation Field
Repeat step 7 but this time lets enter in the
Labelfield "Message", then change theTypefield to "Textarea" and on thePropertiestab check therequiredcheckbox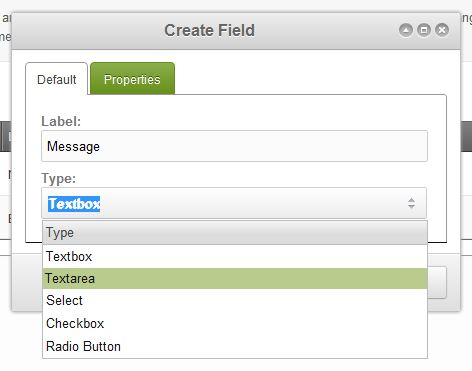
Figure 2.10 Type Field
Lets create our Template Variable to display our Form on the website, lets enter in the
Namefield "form" and in theCaptionfield "Form".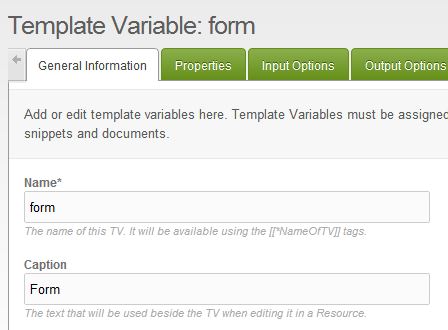
Figure 2.11 Template Variable
Click the
Input Optionstab and set theInput Typefield to "formz".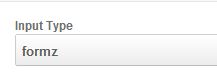
Figure 2.12 Input Options
Click the
Output Optionstab and set theOutput Typefield to "formz".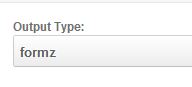
Figure 2.13 Output Options
Click the
Template Accesstab and set which template you want to have access to your Template Variable.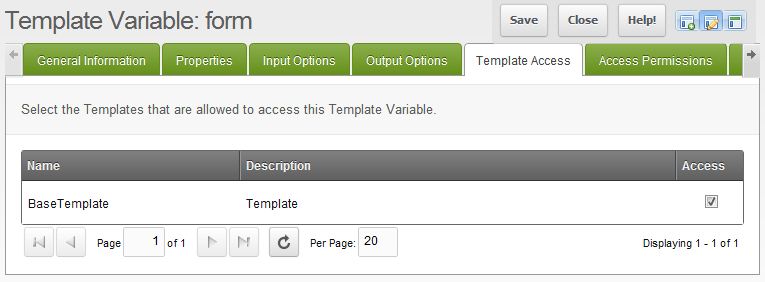
Figure 2.14 Template Variable Tab
Place you newly created Template Variable
[[*form]]inside your template or in the content area of the page you will create. I will do the latter for this guide.
Figure 2.15 Page Content
Click the
Template Variablestab and select your "Contact" from theFormfield.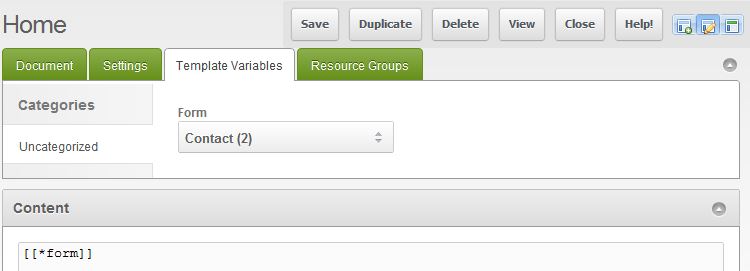
Figure 2.16 Template Variable Tab
Congratulations you have created your first web form with Formz, now go and create more and explore the features.
Formz Builder User Interface
The User Interface (UI) of Formz should be easy to use and follow. Inside of the UI we tried to keep action names as user friendly as possible so that even a beginner can start using the system from as early as possible.
Formz Template Variable
Formz Snippet
This is what make make creating frontend forms so easy, this snippet ties in all the code for the frontend form using FormIt and FormItFastPack.
The Formz Snippet fmzForms work behind the scenes when you are using the formz output type in your Template Variable. You can use the Formz Snippet fmzForms
directly by adding it in the template you have attached your Formz Template Variable to. If you decide to use the Formz Snippet fmzForms inside of your template
make sure you change the Template Variable output type to default.
The default Formz Snippet will look like this:
[[!fmzForms? &id=`[[*formz]]`]]
In this basic snippet [[*formz]] would be the name of your Formz TV, this is the only required parameter you need to pass to the Formz Snippet fmzForms.
Optional Parameters
- tpl
- hookPrefix
- fieldTpl
- fieldNaming
tpl
This provides the user with the option to create their own chunk to pass to Formz Snippet fmzForms, allowing the user to customize their web form to suit their needs.
The default tpl chunk looks like this:
[[!FormIt?
    &hooks=`[[+action]]`
    &excludeFields=`submit`
    &formid=`[[+id]]` [[- "Form ID"]]
    &store=`1`
    &storeTime=`900`
    &successMessage=`<p>[[+success_message]]</p>`
    &emailTo=`[[+email:default=``]]`
    [[+validation:notempty=`&validate=`[[+validation]]``]]
    [[+validationText:notempty=`[[+validationText]]`]]
]]
[[!+fi.successMessage]]
[[!+fi.validation_error_message]]<div class="code html">
<form class="form [[+identifier]]" action="" method="post">
    <fieldset>
        [[+fields]]
    </fieldset>
    <div class="actions">
        <input type="submit" name="submit" value="[[+action_button:default=`Submit`]]" class="btn primary" />
    </div>
</form>
FormIt call.
[[!FormIt?
    &hooks=`[[+action]]`
    &excludeFields=`submit`
    &formid=`[[+id]]` [[- "Form ID"]]
    &store=`1`
    &storeTime=`900`
    &successMessage=`<p>[[+success_message]]</p>`
    &emailTo=`[[+email:default=``]]`
    &emailTpl=`myNewEmailTpl`
    [[+validation:notempty=`&validate=`[[+validation]]``]]
    [[+validationText:notempty=`[[+validationText]]`]]
]]